pretty lids

I have been on a kick with scrapbook paper. Mainly since it was on sale for 6/96¢, and I spent four dollars.

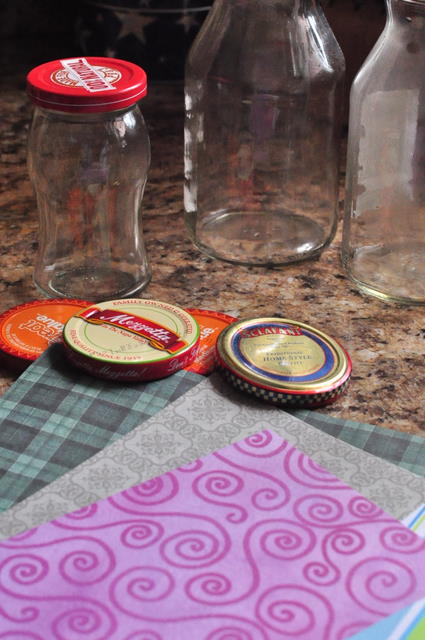
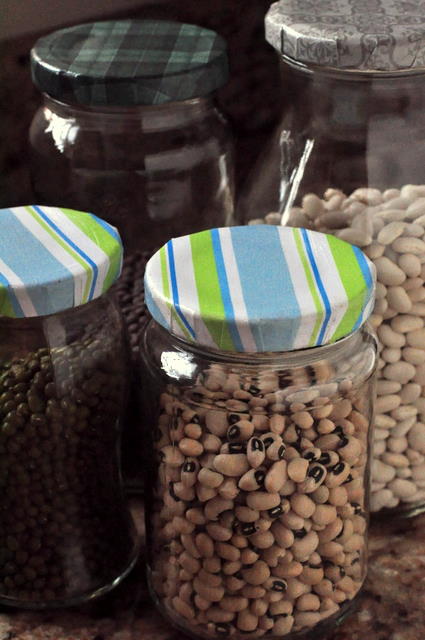
These are jars I saved from random store-bought items and, they drove my hubby crazy, because he kept wanting to toss them. Not anymore. He says they look nice. Awww.

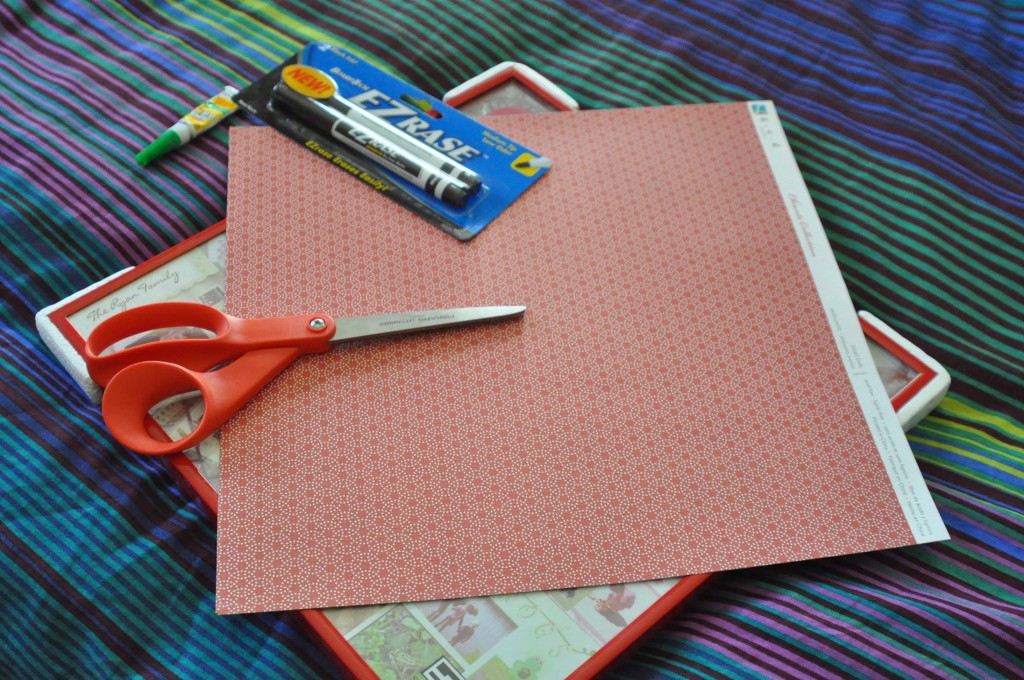
I gathered up several jars and lids, scrapbook paper, scissors, glue, a pencil,  and some mod-podge.

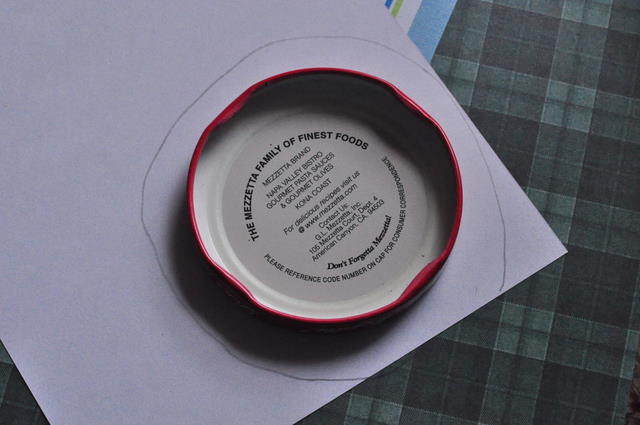
Trace a circle slighty larger than the lid, so that you can wrap it around the edges of the lid.

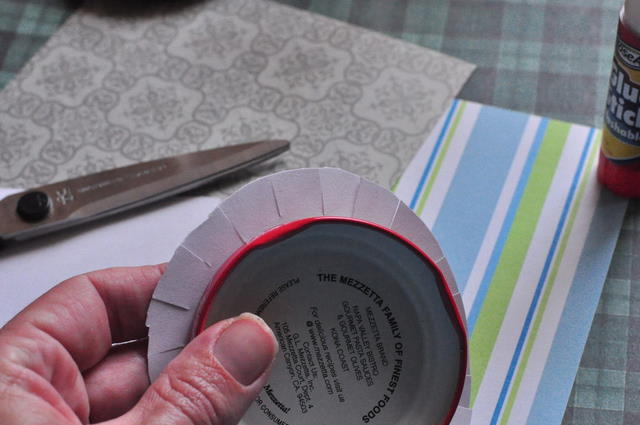
Glue it on in the center, then cut small divots all around.

You’ll need to get the edges really wet with glue to mold them around the rims. Allow the glue to dry, then apply a coat of mod-podge.

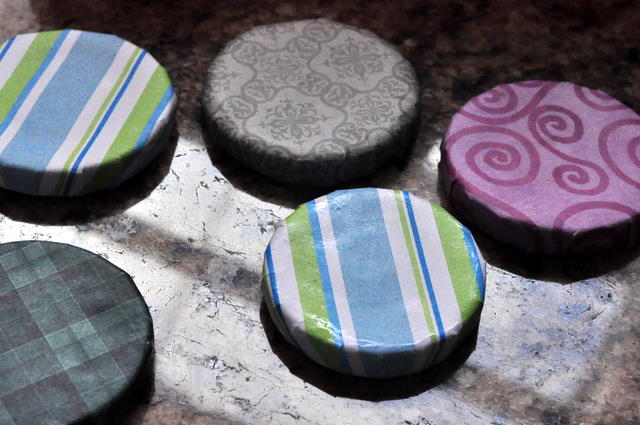
That’s it! Enjoy!

Continue Reading

DIY dry erase board

I wanted to post this last month… BUT~ some were gifts for Christmas, and I didn’t want to ruin anyone’s surprise. Can you blame me?

This is awesome and this is why:

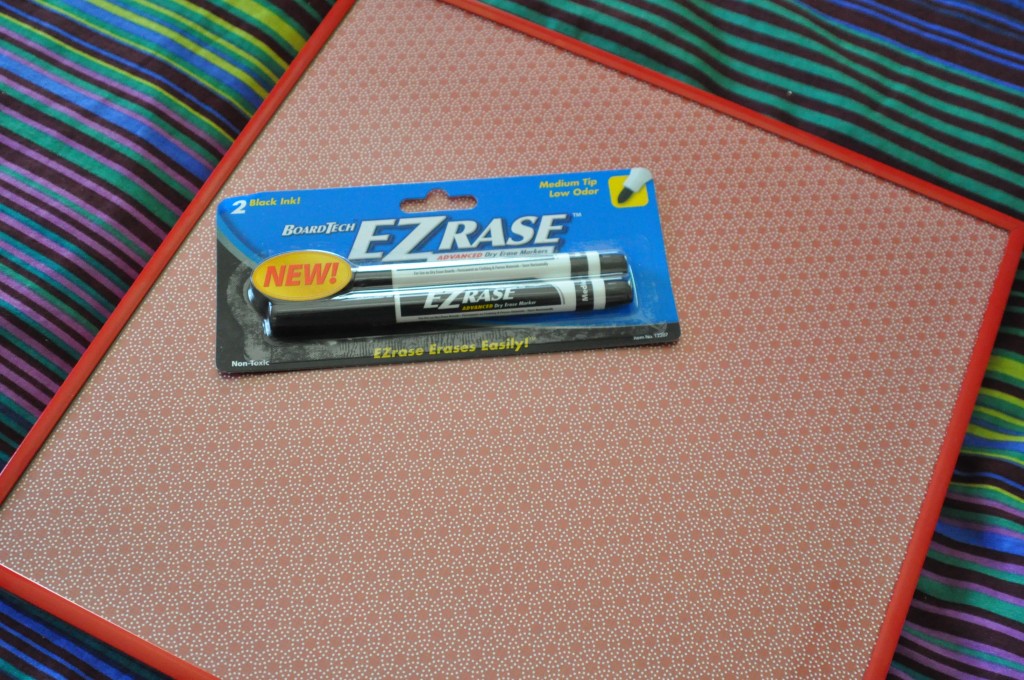
You can use any frame I used a scrapbook frame, but you can snag some cool vintage frames at a thrift store for a more shabby-chic look.

You can use any printed or plain paper behind~ you  can even make a “seasonal” dry-erase board with assorted scrapbook print paper.

It takes less than 10 minutes to make.

Taa~Daa!

Hint: If you have a dollar store where you live, you can get the markers there. 😉


Continue Reading

dress project part one

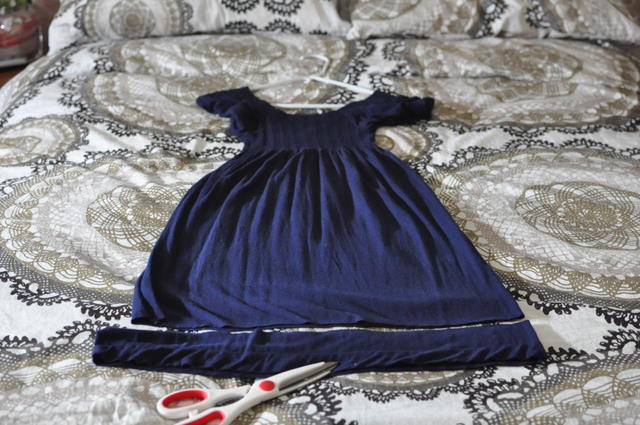
I’m short. When people ask me “How tall are you?” I smile and say, “I’m not!”Needless to say, a lot of my clothing is too long. It needs trimming and hemming. The problem?  I don’t own a sewing machine and I am too lazy to stitch by hand….but, I found a nice loophole for that issue. Don’t get me wrong… I want a sewing machine. I just always “forget” to buy one.

SEW, (haha) I trimmed off a strip. And, that strip just happens to make an awesome hair tie/scarfy-thing)

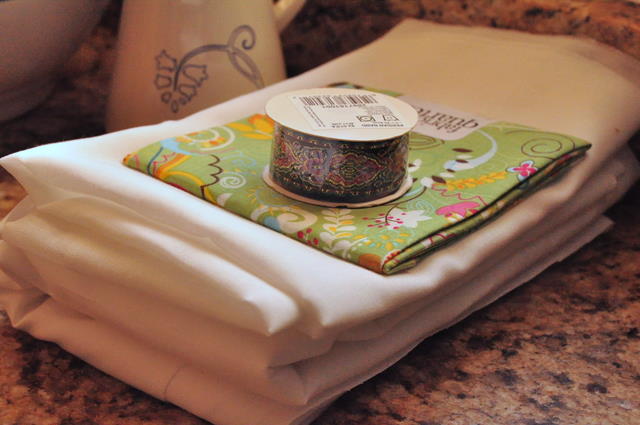
To hide that unsightly cut edge of the dress… I used….

See that fancy trim? Pur-dee, huh?

You got it. I will post a part 2… once the “ok-to-wash fabric glue” dries.

Tomorrow.

I know, I have been a total slacker on this site. Well, folks it’s CRAFT SEASON! I mean that I will be making a lot of gifts this year since I’m broke  really really on a budget. 😉

And… I will share them with y’all.Along with what’s in the fridge, of course.

Continue Reading

covered boxes

I admit it, I’m a little weird sometimes.  For instance, I am currently saving used toilet paper rolls for an awesome holiday craft. Yes, I just said awesome and toilet in the same sentence. See… I’m a weirdo.

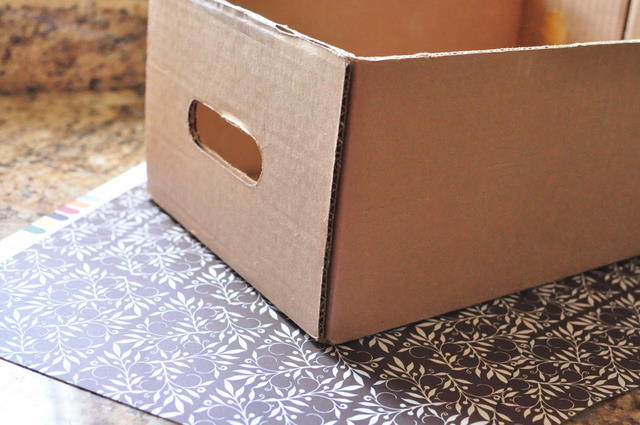
So, the other day, I found this box. It was one of those perfect boxes. It was just the right size and strength for magazines and books, and it happened to fit perfectly next to my computer desk. The problem? It was just a cardboard box, and honestly… it would look ghetto if I just left it like that. I’m sure you understand.

Continue Reading

cookie jar mix

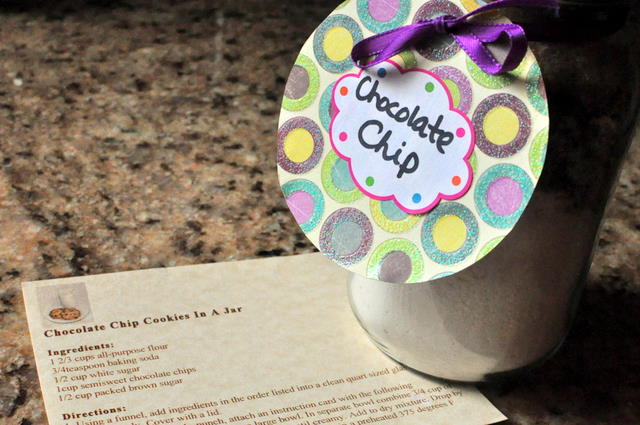
Cookie jar mix!

Get a head start on hostess and holiday gifts!

To make these:

Using a funnel, add ingredients in the order listed into a clean quart sized glass jar. Pack in firmly. Cover with a tight fitting lid.

1 2/3 cups all purpose flour

3/4 teaspoon baking soda

1/4 teaspoon salt

1/2 cup white sugar

1 cup semi sweet chocolate chips

1/2 cup packed brown sugar.

Attach an instruction card using a ribbon and a hole punch on some heavy weight paper  or an index card.

Instructions:

In a separate bowl, combine :

1/2 cup softened butter

1/4 cup shortening

1 whole egg

1 egg yolk

1 teaspoon vanilla

Empty the jar contents to butter-egg mixture.

Drop by tablespoons onto parchment lined baking sheet, and bake in a preheated oven ( 350) for 8-10 minutes.

Continue Reading

sillhouette how to

This is a classic meaningful little gift idea. And… so easy. Hooray to easy. Cheap, too… hooray for cheap!

I did about 28 of these last week for my daughter’s class. The most challenging part was getting 4 year olds to “freeze” for 25-35 seconds. That’s  forever, when you’re four.
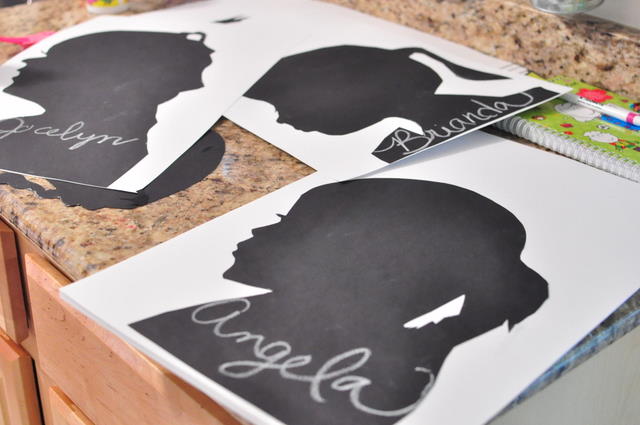
To make these, you’ll need:

black construction paper (large size, sold at craft stores-maybe the big super centers as well)

chalk

white heavyweight paper (same as above)

A kid, or whatever person you want to save on paper. Heck, you could even try your cat or dog…

scissors

glue product (stick is best)

clamp light or lamp without shade.

Directions:

Tape black paper on a wall, and position a chair next to the wall. Place “subject” (kid) on the chair. Tell them to stay still and “freeze”.  😉

Place the light source approx  1 1/2 feet from subject,  you may have to adjust distance to capture the subject’s shadow on to the paper.

Trace the shadow using the white chalk.

Cut out and glue onto white sheet of paper. (You could also used colored paper, if desired…)

ADVICE AND TIPS!!!

Don’t worry about it looking really bad when you first trace it, it looks MUCH better once you cut it out.

I was worried some of the kids (including my own) were going to look like shadow blobs, but.. they all came out looking like humans… yay!

I used regular scissors to cut the main shape, and a smaller pair to get more details, such as eyelashes and hair strands.

Glasses are hard, you’ll need to use manicure scissors to get the outline just right.

Don’t worry about tracing the shadow “perfect” ,  as you cut it out, you can round out any jagged lines you may have gotten.

The stiller the subject, the easier it is.

Use a minimal amount of liquid glue, so it doesn’t wrinkle the paper. (Glue stick works best)

Have fun and enjoy!
Continue Reading

instant centerpiece

Instant centerpiece! Don’t have a plant or flowers? You can rock this out!

tall glass/ vase jelly beans and a dollar store bunny.Better than flowers… because you can eat it. And it keeps you from making a trip out to the store. 😉

Continue Reading

homemade vanilla extract

I am a vanilla girl. Not to say I don’t adore chocolate…I just have a certain fondness for vanilla. I think it’s in how it is portrayed as such a “plain” flavor, yet it’s compounds produce a complexity all it’s own.

For instance,  vanilla beans as we know them in their pods come from a type of orchid that must be pollinated by hand.

If humans ceased to exist would vanilla also?

I doubt it- I am sure there is some area where nature does it.. but most of the vanilla beans we get as consumers were a-hem artificially pollinated. (ie; by hand)

Vanilla works really well in spicy dishes, believe it or not. And, even in wine.

Same way chocolate loves chile and cinnamon.

Trust me.

I finally got around to making my own vanilla extract, my friend Kira inspired me. Next is butter. She totally made me want to do that, too.

Vanilla is amazing. And it makes a great perfume. Remember back in the 1990’s when vanilla was hot? That was also around the same time everyone was “into” angels. Just after the “grunge” period….I think vanilla and angels were the ultimate counteraction of some marketers out there.

Everything was vanilla.

And people wore angels and decorated their homes with them…

mmm, vanilla angel cakes.

There was never a chocolate perfume rage….

at least not yet…

chocolate would have worked well with grunge, I think.

But I think that was when coffee got trendy.

Food trends.

I’m still waiting on sun tea to make a comeback.

As I said, I love vanilla and have a collection of it. Now I’m going to finally make it.

the actual vanilla beans look like tiny specs of dirt… can you see them?

while I made this, I also added to my vanilla sugar jar…. that was something I made back when angels and vanilla were hot…

you can see a recipe using that here (mmm, vanilla sugar tea cakes )that’s a EARLY post.

Homemade Vanilla Extract

[print_this]

Recipe: Homemade Vanilla Extract

Summary: how to make your own vanilla

Ingredients

  • 3 vanilla bean pods
  • 1 cup vodka

Instructions

  1. Slice each vanilla bean lenghthwise down the center and place in an 8oz sterile glass jar with a tight fitting lid. (brown glass preferred) Top with vodka. Allow to age in a dark place for 8 weeks, shaking every few days. Top with more vodka as needed.

Cooking time (duration): 5

Microformatting by hRecipe.

[/print_this]

Continue Reading

spiderweb pizzas… and (gasp!) a video

Well, if you know me on twitter and facebook, you know I got a bit ballsy yesterday and decided to make a video.  Not sure why… I think I wanted to see if I could do it. It was something I was scared to death of when I was in Project Food Blog-I decided to conquer my fear of that challenge, even though I didn’t make it that far. (sniffle,sniffle)

Now-I have to tell you- I did two takes. Because I started to crack up laughing.

Next time, I will post the outtakes.

I also still took some pictures. Because I thought I would chicken out.

aren’t they spoooooky?

I went all pre-made on em’, too.

Because there are times when you just can’t be all “homemade-betty-martha-crocker-stewart”.

Sometimes you have to be an “astronaut food mom”.

And, you know what? That’s okay, too. 🙂

I think I am rambling to stall….I am still a bit nervous. I have no freakin’ idea why.

So…. what are you going to make for Halloween dinner?

These are easy and fun.

Here’s how to do em:

Woah- doesn’t it look like I am yawning-or yodeling? Paused videos are funny that way.

Let me know what you think.  🙂

Continue Reading

wormy apples

This is just so cute. And I totally stole it from somewhere- I can’t remember where… (online…I think, although I do have a stack of fall magazines….)

It’s not like me to not give credit-so I will try and hunt down the creator of these cuties.

And, except for the worm they are healthy.

Yippee,  soccer moms unite! We can bring these when it’s our turn for snack at games. Oh yeah. Make all the other moms call you “Martha”, come on, deep inside we know they’re just jealous…and being called “Martha” is really a compliment- weather we admit it or not.

I’d much rather be called “Martha” than Lindsey any ol’ day.

Which ex-jail bird would you want to be?

Now, to make these you will need a strong straw to bore the hole… you know the accordion super thick ones kids get at restaurants with their drinks? The kind that whistle when you blow them. Yep. Those.

Poke a hole in each apple, then cut in half. Scoop out the middle:

and… what goes awesome with apples?

Peanut butter, of course.

It also acts like paste to hold the apples together.

There you have it- you are officially a rockin’ Martha soccer team mom.

Or, a hit at your office .

These just instantly make you cool.

Continue Reading