DIY garden boxes

Lately the hubs and I have gotten into a urban homesteading way of life….it started with me wanting chickens and a cow so I could have lots of eggs and butter without going to the store. Unfortunately, cows are “outlaws” here.  So,  we decided to create some garden boxes. Garden boxes are necessary where I live; due to poor quality soil and the giant tortoises in my yard. If you have good soil where you’re at, you could probably just ignore this post. 😉

I decided to try my hand(s) at lasagna gardening; where you layer assorted biodegradable materials (cardboard, leaves,lawn clippings, kitchen scraps,etc) in a box. (the “lasagna pan”)

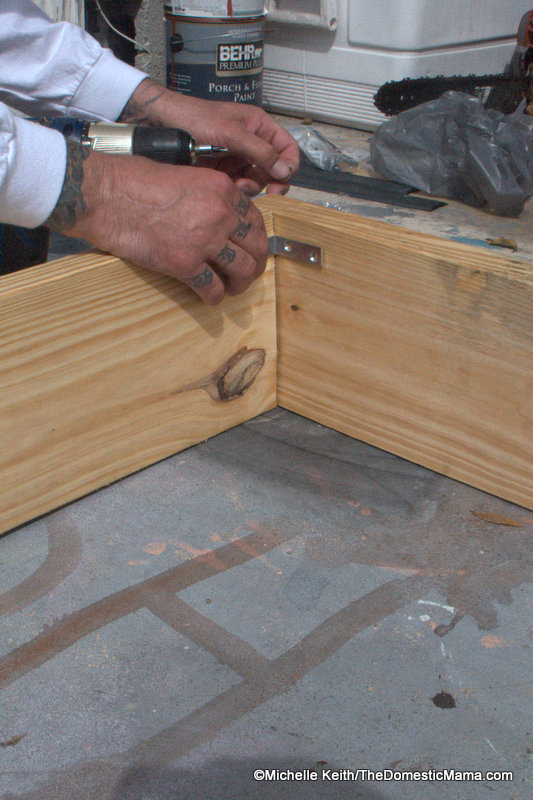
My husband did the assembly- not that I can’t use a drill, he just jumps at the chance to use power tools.  Ah! His “man toys”.

We secured the boards together using “L” brackets.

DSC_00021


DSC_0003

Depending on how deep you want your boxes, you may need to use more. This is an 8″ deep box.

DSC_0004

After we made two of these, I decided we needed a bigger one.

DSC_0001

This one is/was huge. Good thing I have watermelons growing in it now. 😉

DSC_0002

After the big ones were made,  “someone” wanted their own. Which was great… mainly because random seeds were being planted with my veggies. Now we have a cute little flower bed/random veggie box.

I need to take more updated pictures for y’all. Now there’s more greenery.

The cost of these is very reasonable. Depending on the size (and how many) you want and materials you chose to fill it with it will cost between $8-35. I filled mine using the lasagna gardening method, which takes time to build up and decompose down into compost. You’ll need to add some vermiculite to the compost once it’s broken down, to aerate the soil and assist in drainage. If you don’t want to invest the time in the lasagna method, you can also fill it with a soil mix.  Mel Bartholomew author of Square Foot Gardening suggests 1/3 vermiculite, 1/3 peat moss and 1/3 compost matter.  From what I’ve heard, it’s a pretty decent mixture.


Continue Reading

pretty lids

I have been on a kick with scrapbook paper. Mainly since it was on sale for 6/96¢, and I spent four dollars.

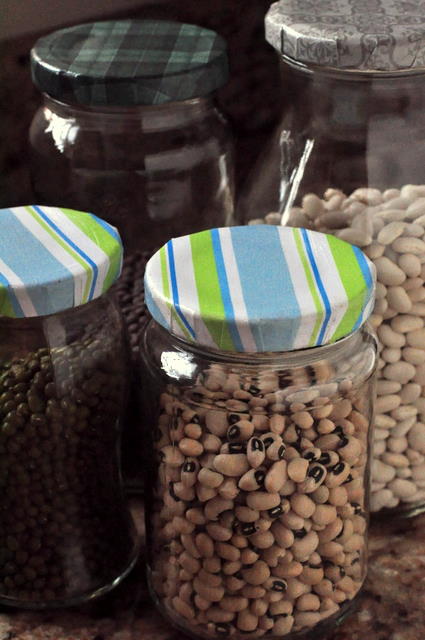
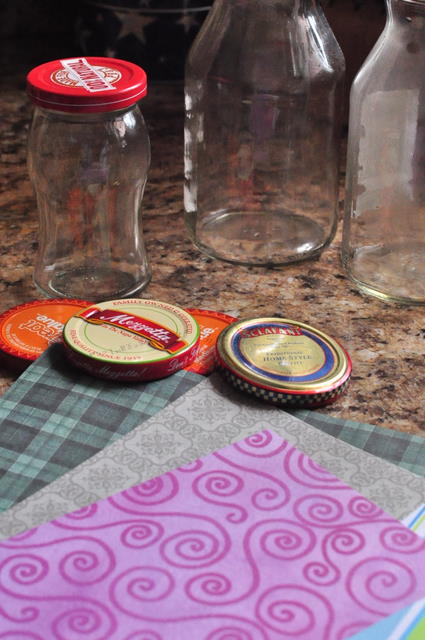
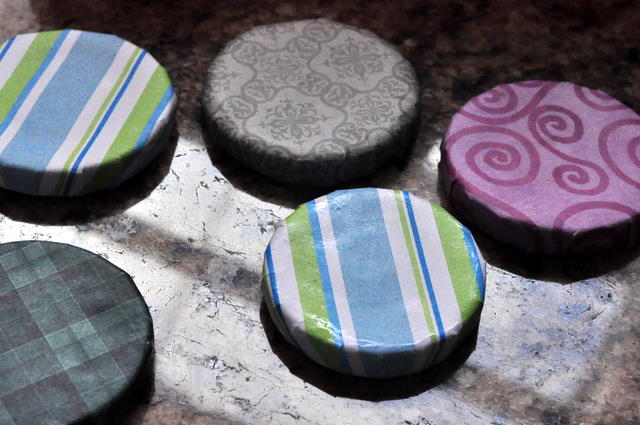
These are jars I saved from random store-bought items and, they drove my hubby crazy, because he kept wanting to toss them. Not anymore. He says they look nice. Awww.

I gathered up several jars and lids, scrapbook paper, scissors, glue, a pencil,  and some mod-podge.

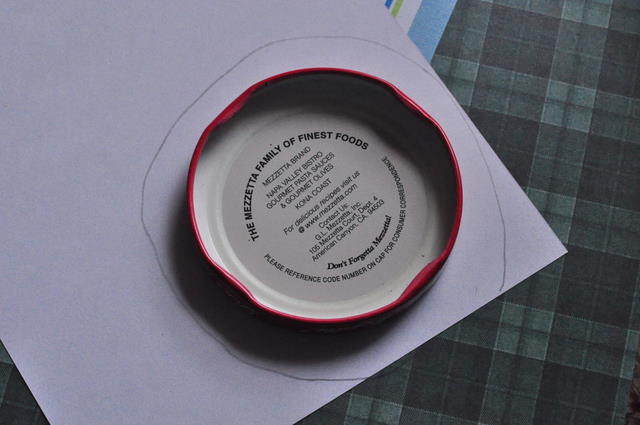
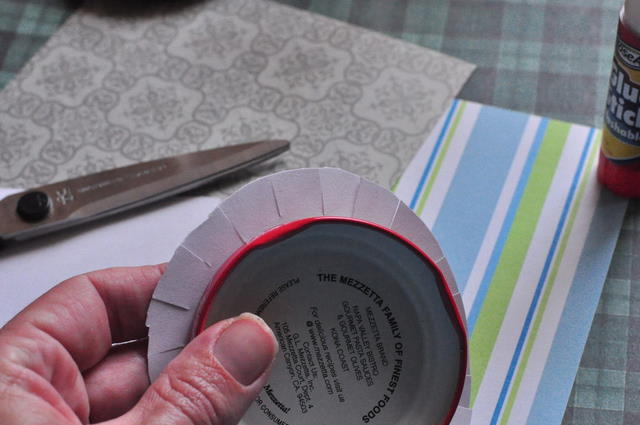
Trace a circle slighty larger than the lid, so that you can wrap it around the edges of the lid.

Glue it on in the center, then cut small divots all around.

You’ll need to get the edges really wet with glue to mold them around the rims. Allow the glue to dry, then apply a coat of mod-podge.

That’s it! Enjoy!

Continue Reading

kids room clutter conquer

I have to admit this and forgive me if I sound like a horrible mama; but sometimes I choose toys by how many (or few) tiny parts they have. Not because of choking hazards thankfully we are past that stage. Although I still have to say “Don’t lick that” a few too many times.

Sometimes, all those little parts make me crazy. All the little plastic hair pony brushes, Barbie shoes… ugh. If you have a boy, it may be little AK-47s or plastic insects. Then again, I have the plastic insects as well.

My point being, is that the little parts end up everywhere and it’s impossible to keep them contained, much less WITH the play set they came with.  There are tons of great colorful bins they sell out there but , to be honest I simply haven’t had the loot for a bin-overhaul. I came up with a much thrifty-er version. Yay me.

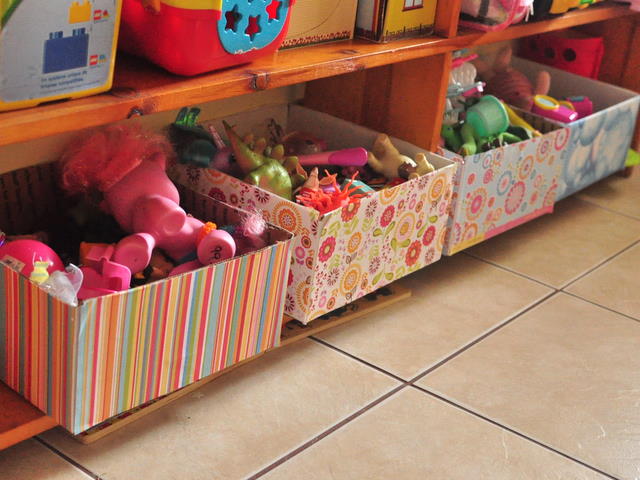
I took my covered boxes idea a step further, and let my daughter pick out the scrapbook paper for her “toy boxes”.

She has good taste.

The boxes were FREE. The paper was 6/$1.00 and the glue stick was 3/$1.

Can’t get much cheaper thriftier than that.

So, until I have an extra $75 to color-cordinate bin shelf her room, these will be just fine. I’m trying to help her to keep the ponies, little pets and people separate… but she said they like to be mixed up. I’m okay with that. 🙂

For detailed step by steps, go here covered boxes

Continue Reading

organization-paperwork

I don’t know about you, but I always seem to have paper. Weather it’s a clipped recipe, a bill, a coupon or a list of things to remember I always seem to have several categories of paper.  And, having two kids, two blogs and a busy house full of  things to do… I need to have a “paper system”.

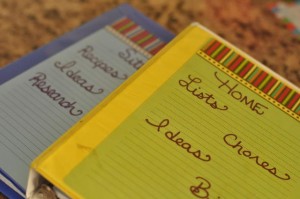
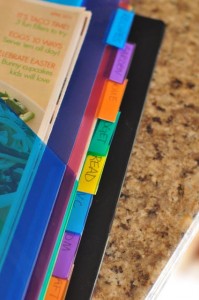
The best way, I have found is to get a binder, and the tabbed pocket dividers like these.

I have sections for recipes, budget, lists, read, craft, kids, decor…etc.

During the holidays I make a holiday section, the pocket is awesome for receipts.  😉

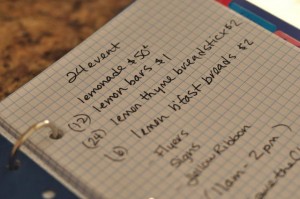
Now: If you happen to blog- I keep a separate notebook for my blog, and it helps me keep focused on what posts I plan on sharing.

Here’s one from a “24” event I had done for “The Village Cook”.

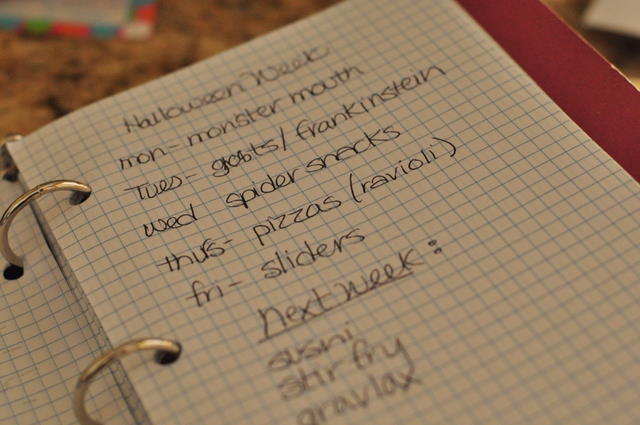
And, here’s one from October.

I use two sizes, a large for the household things and smaller ones for the blogs.

I also like graph paper. Not sure why.

Now: In terms of organizing the paperwork to put in your binder: that’s up to you, and how you tackle things.

I make it a point to week to go through the clippings I have filed or noted and act on them. Recipes are hard, sometimes they stay in there for a couple of weeks.  Coupons and bills get addressed, and my lists are updated.

It only takes a few moments to place them in the binder, and then they are in a neat, organized place until you have the time to go through it.  Let’s face it: a binder looks a lot better on the counter than a stack of papers. And, you can quickly find that bill, recipe or list you made earlier in the week.

Watch for more posts in the “paper” category to come soon.

Continue Reading

I really like office supplies…weird thing part II

This is my home office. It’s a small binder I found at one of those office stores. I guess I could upgrade to one of those fancy day planners… but, this one is voted least likely to get stolen from the front seat of my car. I have separate categories in there, too…each with their own little storage pocket. There’s one for web ideas, one for crafting and photography and a big one for the budget and bills, then another for all my lists…ther’s a wish list, a need list, a fix list, a store list, a dollar store list, a look for at thrift shops list, a costco list,and a pet store list. I’m a bit of a list maker.My home office:It’s a mini homemade trapper keeper, I think. Hmmm. I really like office supplies…. what’s y’alls’ home office like?
Continue Reading